|

|
|
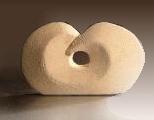
Sand Paper For Stone Carving Sand paper; let’s face it nobody enjoys sanding but at least when it comes to sanding a stone sculpture but it will slowly transform into a beautifully finished piece.
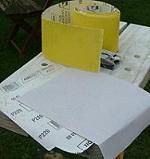
The best smoothing method for your work is to start with a heavy grit. I like to use an 80 grit abrasive. At this point I am looking to sand out all of the chisel marks, scrapes and lines. 80 grit sanding paper is like using a mini rasp, so focus on making minor adjustments as you work on sanding your whole sculpture. Having some riffler files on hand would be useful at this point as well. Keep working with the 80 grit paper until you have removed all of the lumps, bumps and marks and you have the shape that you want. The next stage is to sand your work to a more finished look. I use 220 grit but anything above 150 grit will be fine. This is more like a polishing stage. Give your sculpture a good thorough sand and have an eye for detail. Continue working until you are happy with the result. What type of abrasive should I buy? Definitely go for quality modern abrasives. If you see cheap sand paper in packs of ten or so, avoid them! Some types tend to tear apart very easily and it is really annoying. Try to find paper that is as close as possible to the colour of your stone. As sometimes you may end up with little bits of coloured sand embedded into your stone. I recommend buying single sheets of wet and dry paper preferably in light gray. (I like to use Norton abrasives) the sanding sheets are very strong and flexible so you can get into the tight and difficult areas throughout your sculpture. They are about $2.00 a sheet but you will get your money's worth. What is the best way to use it?
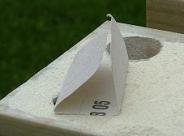
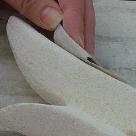
Cut or tear a piece off that is about 11cm x 7cm although the measurements do not have to be exact. Now fold it into three. This will provide the best grip when you are using it. When you are sanding bend the paper to fit the form of your sculpture so you can get into all of the tight areas.
|
||
|
[?] Subscribe To This Site
|
||


